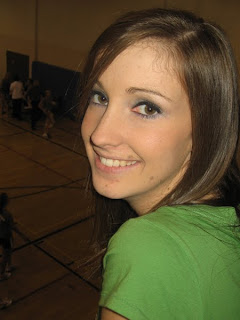
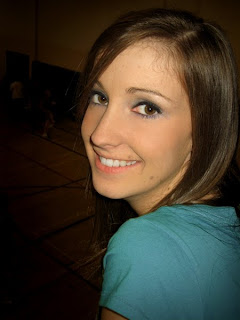
1.carolee unedited: 10/24/09; 2:10 pm; Rexburg; f 3.2; 1/60
2.carolee edited: used healing brush, clone stamp, and sponge tool + to enhance portrait (removed what little acne there was, whitened teeth and whites of eyes, increased saturation in eye and lip color, removed a strand of hair that was across face, removed darkness under the eyes, changed color of shirt, etc)
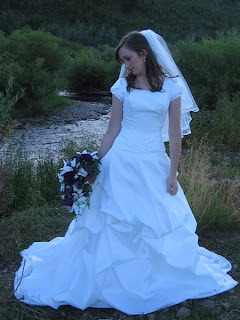
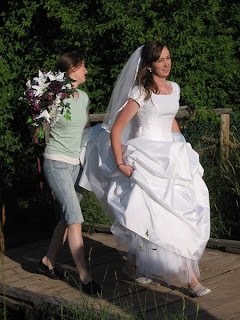
3.emily unedited: 8/12/09; 7:40 pm; Star Valley; f 3.2; 1/320
4.match color: 8/12/09; 7:30 pm; Star Valley; f 5.6; 1/1000
5.emily edited: used match color option to pull the color tones from the second picture and apply them to the first one; slightly adjusted levels and saturation
I was very appreciative of this editing assignment for the practice. The portrait enhancement tutorial was especially helpful and worthwhile, and I felt like I was able to learn a lot about the benefit of just little changes that don't detract in any way from the personality of the person but simply 'enhance' the portrait. The match color option is absolutely incredible. I didn't realize just how bad the coloring in my original image was until I saw it contrasted with the edited one—so incredible. I couldn't believe the difference and how easy it is to make the edit.
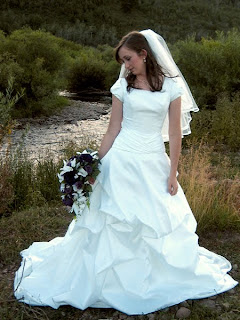

I really REALLY like how your wedding dress one turned out. Awesome! The shirt turned out well too. You are doing great.
ReplyDeleteYour color change turned out so well it makes me wish I had tried that for my edit this week! Well done! I am also really amazed at how well that color correct fixed the color/exposure problem with the second image. I'm starting to realize how useful that feature can be!
ReplyDeleteThe wedding one is amazing how much better it looks. I love that picture. The color is so much better. The edits of Carolee look so good. Everything looks natural and not too much. Good job.
ReplyDelete